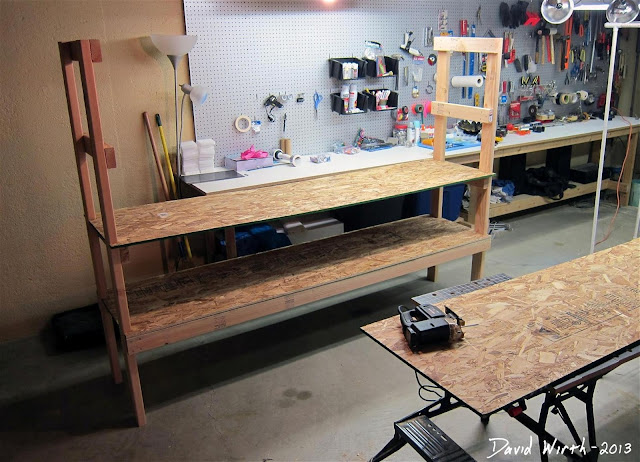
To keep it simple i decided to build it exactly the same as before, no need to reinvent the wheel. So i went upstairs to find my old set of plans i drew on Google SketchUp.
And here's the Google Sketch up files i used.
So i was using the same plans, the same wood, at the same price, the same tools and the left-over screws from the last time. The ONLY difference is that i wouldn't be able to make the shelf as tall. Out in the garage a 7 foot high shelf was fine, but in my basement that wouldn't work. The location i was thinking of putting the shelf would only allow for the top shelf to be 6 feet high. That also meant that i had to shorten the gap between each shelf. But this time i got to build it in the comfort of the basement.
Material List:
Description Height Width Length Quantity Price Total
2x4 2" 4" 8ft 15 $2.50 $37.50
OSB 1/2" 4ft 8ft 2 $13.00 $26.00
This is the wood i bought, same as before.
Then the first thing i did was to remake the cardboard templates. Because of course i immediately threw out the old ones after building the garage shelf, thinking i'll never need these again.
This is what it looks like just after i started working. I cut 4 of the 2x4's to the 6 foot height i needed and was just beginning to attach the side supports.
You can see the four 2x4 side supports in the middle. To try and keep it all square i would measure and mark the heights on the vertical boards.
Again this is after i attached the bottom shelf, then had to force in the middle two OSB boards. I had to do it in that order because otherwise they wouldn't have fit.
This is the shelf laying on it's side. The process is, i attach the three 2x4's for the two middle shelves and the top. Then i flip it over and do the other side. You might notice the long 2x4 sticking out of the side near the top. That's one big tip i learned from the first time. It's a 10 foot board that i use to pick the shelf up and flip it over. It works great when you are by yourself trying to maneuver an 8 foot long wobbly shelf.
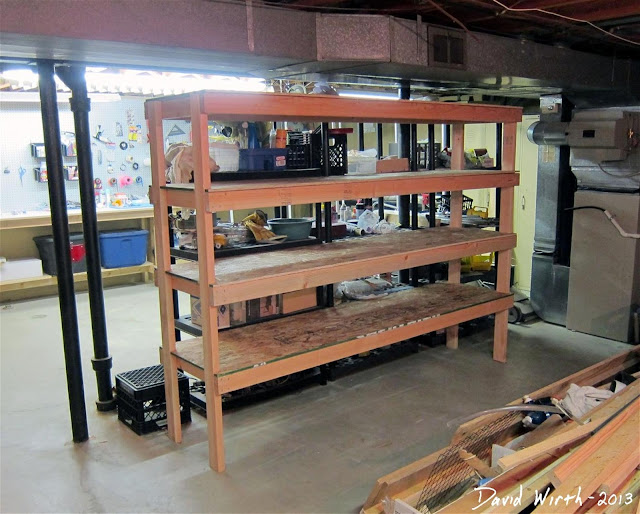
Here's the shelf all done and pushed into place. It's the perfect size for the basement and you'll also notice that the plastic shelves align at the same height.
This is the view from the side. Obviously i built it with the same corner joints as before. John and i drew them up and felt that they were the strongest way to connect the boards.
It's amazing how fast the shelf filled up. I put the long flat boards on top, scrap wood on the second, miscellaneous stuff on the third, pipe on the bottom shelf and all the boxes on the floor below.
This is what the basement looks like now. A lot cleaner and organized with room to walk. Before the one side of the basement looked like a scene from hoarders.
The best part of the whole thing is that the shelf i built in the garage took about 3 days to make, while this time i built the entire thing on a Monday night after getting home from work. All together it took just 4 hours. And that included me loading the shelf up with all the junk.
EDIT: UPDATE VIDEO
Here's a summary video of the storage shelf being built.
.JPG)


.jpg)
0 comments:
Post a Comment